- By tech@intempus.net
- In Build, Repairs
How To Build A Fire Pit For Your Outdoor Entertaining Space
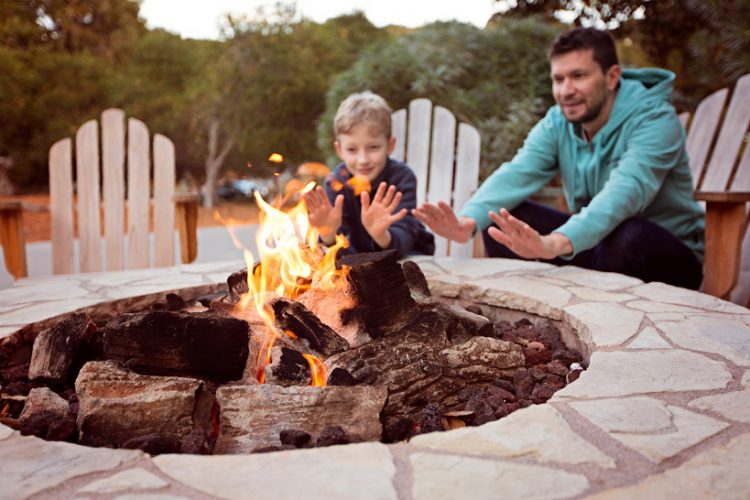
Building your own fire pit is a great way to customize your home and create a fun area to relax with friends and family on cool summer nights. A well-constructed fire pit will keep you and your loved ones safe and should last for years to come!
Step 1: Find The Best Location To Install Your Fire Pit
Make sure you consider local building codes that may require a specified distance between the fire pit and your house or other structures in the yard. Additionally, the area you choose should be free of utility lines and other potential fire hazards like shrubbery, brush, low-hanging branches, combustible materials, etc.
This is an important safety step, so take your time choosing the best location!
Once you’ve settled on a spot, mark the perimeter of the pit using spray paint. Pound a stake into the ground in the spot where the center of the pit should be. Then, use a string to tie your spray paint to the stake so that you can outline a perfect circle. To mark the perimeter, the string should be equal in length to the radius of your fire pit.
In order to make your fire pit secure, you’ll want to embed it into the ground. Dig out a 6” deep hole in the space you just outlined. Use a tamp and a level to avoid creating an uneven surface.
Then, use the stake and spray paint again to mark an inner circle, approximately 12” in from your perimeter; this is where the inside wall of the fire pit will be.
Step 2: Pour The Pit’s Foundation
Mix concrete with water (following the instructions on the product packaging) pour your foundation between the two circles you created, making sure the concrete is spread evenly to create a level surface. The foundation should end about half an inch below ground level; use rebar to reinforce the concrete, and smooth the surface before allowing it to dry. Refer to the concrete package’s instructions to determine the estimated drying time.
Step 3: Create The Outer Wall
Once the foundation has set, you can start building the outer wall. Make sure you use stones that can withstand high temperatures!
Start by layering about 2” of mortar in small sections on top of your concrete base, placing down stones as you go. For a clean, professional look, you may choose to chip away at the stones to better fit your circular outline. Make sure you wear protective gear including work gloves, goggles, and a mask, to prevent injuries from the fragmented stones.
As you begin to layer the stone, don’t forget to stagger the joints between rows for added stability.
Once the outer wall begins to take shape, you can start laying the bricks for the inner wall.
Step 4: Build The Inner Wall
Make sure each brick is level as you place it, and then add mortar to fill in gaps, making sure to scrape away any excess.
While you continue building up the inner and outer walls of the fire pit, take occasional measurements to make sure you’re working within the original plan. As each of the walls becomes taller, add more mortar and scrap stones to fill in the gap between the two walls.
Step 5: Lay Flat Fieldstones To Cap The Two Walls
Once you’ve built the walls to the appropriate height, you can lay flat fieldstones across the top surface of the two walls. To do so, add about a 1” layer of mortar and then lay down the stones, working to create a flat, even surface. Remember to add mortar in between these flat stones for a solid, sturdy structure.
Step 6: Clean Up Remaining Debris
Once the mortar has had time to dry, you can spray down the fire pit with a hose to wash away excess mortar and dirt.
Now, you’re ready to enjoy your new fire pit!
Get Help With More Home Improvement And Remodeling Projects!
If you own a home in the Bay Area in need of renovations, repairs, or updates, we can help! Intempus Builders combines extensive construction experience with an unmatched dedication to customer satisfaction. From designing and building to tiling and painting, we offer quality results on every single project.
Contact us today to discuss how we can help you with your home improvement projects!


